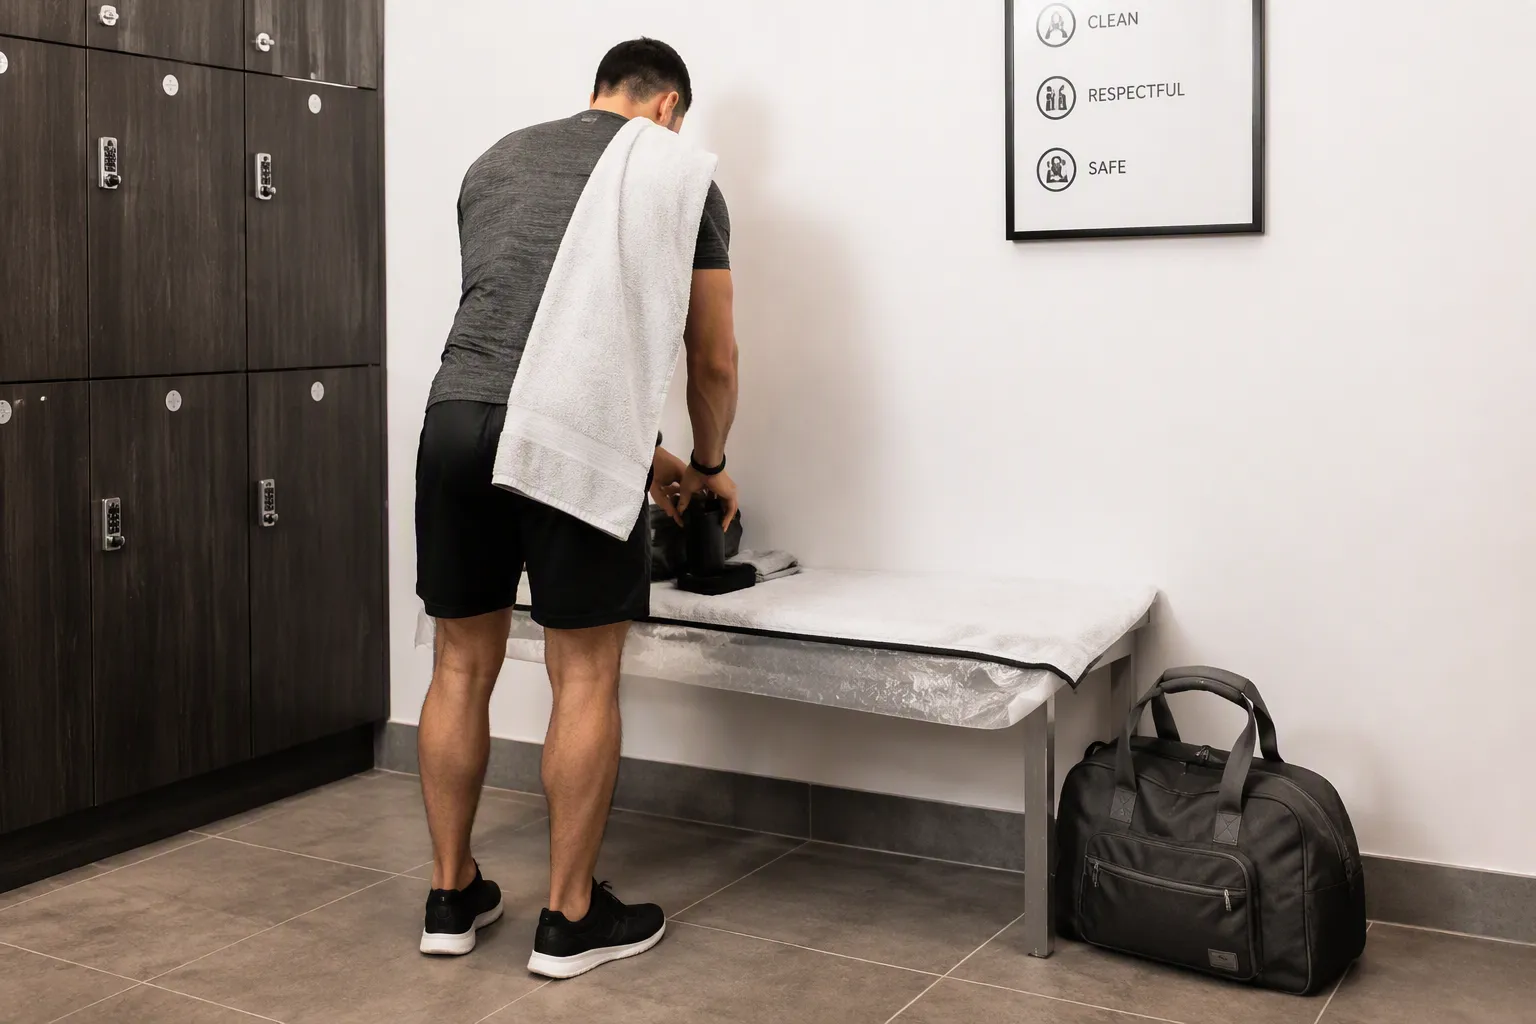
You stand in a crowded public locker room with a fussy baby and a heavy diaper bag on your shoulder. Every bench is taken. Every glance feels like judgment. Your heart beats fast as you try to figure out how to change your diaper in a locker room without anyone noticing.
You can master how to change your diaper in a locker room with six proven methods. This guide walks you through each technique step by step. You will learn how to prepare, where to stand, and how to move quickly to protect your privacy. These skills cause less trouble and keep you hidden. You will handle any situation confidently, avoiding messy spills and embarrassing moments. Getting ready changes a stressful experience into a smooth routine.
Key Takeaways
Bring a diaper bag with a built-in changing station so you have a clean, private surface anywhere.
Pick a corner or a private stall to get more privacy and less exposure.
Use a large towel or blanket to block the view of curious eyes.
Keep a diaper caddy packed with all supplies, including a spare outfit, for quick changes.
Learn a fast, step-by-step way to change your diaper so you can finish in less than two minutes.
How to Change Your Diaper in a Locker Room: Use a Diaper Bag with a Changing Station
Why a Dedicated Station Works
A diaper bag with a built-in changing station gives you a clean, designated surface anywhere. You avoid placing your baby on a shared bench or cold floor. The fold-out changing pad has a wipe-clean surface. It stays hygienic between uses. The pad also provides insulation for comfort. You simply unfold the pad and complete the change. You wipe it down after use. The pad then folds back into the bag. Everything stays discreet.
Chiaus designs diaper bags with this convenience in mind. The bags include a hidden compartment. It unfolds to reveal a practical pad. The exterior maintains a sleek, streamlined look. Low-profile pockets keep the pad discreet when not in use. A quick-access wipes pocket sits near the pad. You reach it with one hand. You grab a wipe without fumbling through the main compartment. The pocket keeps wipes fresh and easy to grab. A disposable bag pocket holds soiled items. It prevents leaks. The pocket keeps odors contained until you find a trash can. This setup reduces the need to carry a separate mat. You gain a hygienic surface for every change. You can change even in a busy locker room. The entire system stays contained within the bag. You never expose your supplies to curious eyes.
Pro Tip: Practice at Home First
Practice at home before you attempt a change in public. You learn the steps without pressure. When you practice changing diapers at home, you build confidence. Start by cleaning the child from front to back. Keep the dirty item away from clean surfaces. Remove the soiled product and fold it or set it aside. Dispose of it in a lidded trash can. Slide a fresh one underneath. Fasten it. Dress the child. Wash your hands after the change.
Practice also helps you master odor control. Empty the contents of the soiled product into the toilet before wrapping. This step reduces odor significantly. Wrap the product correctly using tab closures or folding techniques. This locks in waste. Bring extra disposable bags for disposal. Use odor-blocking bags or plastic grocery bags. Never flush incontinence products. They clog toilets. They are not biodegradable.
These tips ensure you stay prepared and confident. The more you practice at home, the smoother your changes become in public. You master the technique before you need it. You reduce stress. You speed up the process. Practice builds muscle memory for quick, discreet changes. You feel ready for any locker room situation.
Changing Diapers at the Gym: Choose a Corner or Private Stall
Scouting the Best Spot
You walk into a busy gym locker room and need to act fast. Look around before you pick a spot. Many new gyms put locker rows near a group of private rooms. This setup lets you reach a changing area without crossing the whole room. Find rows that mix toilets, showers, and changing spaces. You can get to a diaper-changing spot without passing every locker.
Check the corners first. A corner bench gives you two walls of cover. Fewer people walk behind you. You lower the chance of someone watching while you work. Some gyms have universal locker rooms where everyone must stay clothed. These shared areas have no private changing space, so avoid them. Instead, find private changing rooms with doors that lock. These rooms have a baby-changing table, shower, toilet, and sink. You get everything you need in one closed space.
Remember the rules that keep you safe. No photos are allowed in any locker room area. Recording video or audio in restrooms or locker rooms is banned. These rules protect your privacy. You can change without fear of someone filming you.
Pro Tip: Use a Family or Accessible Restroom
Family or accessible restrooms give you the fastest way to privacy. These single-person bathrooms lock from the inside. You decide who comes in. Many gyms build these spaces for parents with opposite-gender kids. You avoid the awkwardness of changing a daughter in a men's locker room or a son in a women's locker room.
Look for a private changing room near the entrance. Family-friendly gyms often add bigger changing spaces and baby stations to their layout. These rooms cut down on shared-area contact. You get clearer views and fewer people nearby. You finish the job without interruptions.
One helpful tip: put a waterproof liner under your baby on the changing table. This layer stops leaks from reaching the surface. You protect yourself and the next person. Carry a small spray sanitizer to clean the table before and after use. These small steps keep the space clean and lower your stress.
Mastering how to change your diaper in a locker room gets easier when you know where to go. These tips help you find the right spot fast. You handle changing diapers at the gym with confidence. You protect your privacy, avoid leaks, and finish quickly. The right location makes all the difference.
Use a Large Towel or Blanket as a Cover
Creating a Visual Barrier
A big towel or blanket turns any bench into a private spot for changing. You put it over your shoulder while walking through the locker room. This cloth makes a shield between you and people looking. You place the towel to block the view of your baby and your items. The towel hangs like a curtain, giving you privacy without making others stare.
You pick a bench next to a wall for the best cover. You spread the towel flat on the surface. The cloth catches crumbs, dust, and wetness from the bench. You keep your baby off shared surfaces. The towel also adds a soft layer for comfort. You fold one corner over your baby during the change. This small move hides what you are doing from people passing by. You finish without showing anything.
The towel works best when you use it with smart placement. You face the wall instead of the room. You keep your back to the crowd. You set your diaper bag next to you as another shield. This setup makes a small private area wherever you are. You finish fast and fold the towel away. No one sees what you did.
Pro Tip: Use a Waterproof Liner Underneath
You put a waterproof liner under the towel for real cleanliness. This thin layer stops wetness and mess from going through. You keep the towel safe from stains and smells. You also keep the bench safe from accidents. The liner catches everything, so you wash only the liner, not the whole towel.
The CDC says to use a disposable liner on the changing surface during prep and to remove and throw it away during cleanup, then clean the whole surface. This step stops germs from spreading and keeps the area clean.
Disposable liners give you several useful benefits:
Mess control and simple cleanup: Waterproof liners catch big messes and stop leaks, so you do not wash covers often.
Less germ risk: You throw away disposable liners after use, so germs do not stay on the changing surface.
Easy hygiene when out: You put liners over public changing stations to make a clean barrier, with absorbent lining and waterproof backing to handle blowouts.
Less laundry work: Parents say that using a liner means the changing pad cover barely needs washing, because the liner catches all messes.
You pack three or four liners in your bag. You use one for each change. You throw it away right after use. This habit keeps your towel clean and your baby safe. You handle any diaper change with confidence, even in a busy bathroom. You stop leaks from becoming a problem. You leave the space clean for the next person.
Pre-Plan with a Diaper Caddy and Supplies
The "Go-Bag" Strategy
You pack a dedicated diaper caddy before you enter the locker room. This "go-bag" holds everything you need for a quick change. You grab it and walk to your spot. No digging through a large bag. No searching for supplies. Everything sits in one organized container. Choose a caddy with multiple compartments. This design keeps items separated. You find what you need fast.
What goes into the caddy? Start with a stack of diapers. Keep about ten inside for a newborn. Add one pack of wipes with a sealable top. A refillable wipe case works well too. Include rash cream to prevent irritation. Pack a fold-out changing mat to keep surfaces clean. Bring hand sanitizer for hygiene after the change. Small plastic bags help with discreet disposal. These items cover every step of the process.
You arrange the caddy so you reach each item without looking. Put the changing mat on top. Place wipes and diapers side by side. Tuck cream and bags into side pockets. This layout saves seconds. In a busy locker room, every second counts. You move through the change without fumbling.
Chiaus baby wipes fit perfectly into this system. The wipes come in a resealable pack. You pull one out without tearing the package. The formula cleans gently. You trust these products to perform every time.
Pro Tip: Keep a Spare Set of Clothes
Accidents happen. Spit-ups, blowouts, and unexpected spills occur often. One outfit is never enough. You pack a backup set of clothes in your caddy. This spare set becomes non-negotiable for public changes.
You choose a complete outfit. Include a onesie, pants, socks, and a lightweight jacket. Roll them tight to save space. Tuck the roll into the bottom of your caddy. You do not think about it until you need it. When a blowout happens, you reach for the spare set. You change your baby quickly. You avoid a messy trip home.
The spare set also helps you move to a private changing room without delay. You have everything ready. You do not leave the room to grab more supplies. You handle the situation in one stop. This preparation reduces stress. You stay calm and focused.
Pack the spare set in a small wet bag. This bag contains soiled clothes separately. You keep clean items away from dirty ones. You prevent leaks from spreading to other supplies. This small step keeps your caddy organized and hygienic.
Manage Odor with Scented Bags and Wipes
Containing the Smell
Controlling odor is key to a private change. A bad smell gets noticed faster than anything you see. You need a way to trap smells before they spread. Scented disposal bags are a simple first step. These bags have scented particles in the plastic to cover bad smells. Some bags have a carbon layer that takes in odors at the source. Dual-action bags use both methods for better odor control.
Feature
Non-scented (Regular)
Scented
Odor Control
Basic
Advanced scent freshness
Scent Options
Usually none
Lemon & Lavender
Know the limits of scented bags. They cover smells but do not remove them. The smell fades in 24 to 36 hours, more in warm rooms. For a fast change, this time is enough. You throw away the bag before the smell fades.
Simple habits help control odors. Put baking soda in the bottom of your container to soak up smells. Spray inside with antibacterial spray after each use to kill germs and smell. Wash the container often with soap and water. Flush solid waste before you put the diaper in the container. Let the container air out overnight or outside when you can.
Expert John says scented bags only cover smells, not remove them. The smell fades in 24 to 36 hours, more in warm rooms. He says for homes that change bags every 2-3 days, scent is mostly for show. He suggests changing bags more often and using a tight lid for better odor control.
Pro Tip: Use a Small Odor Neutralizer
A small odor neutralizer pouch adds strong protection in your private room. These pouches take in, stop, and trap odors instead of just hiding them. The small size fits in your diaper bag or on a shelf. One XX Large Pouch works for up to 300 square feet, great for a locker room or bathroom. The pouch removes sweat, body, foot, smoke, bacteria, mold, mildew, and fungus smells. Put it near your changing spot and let it work all the time.
Use this neutralizer with Chiaus scented wipes for full coverage. The wipes clean well and leave a fresh smell. You handle any mess without fear of lasting smells. Wrap soiled items tightly before tossing them to stop leaks from causing odor. This keeps your space fresh and your change fully private.
Master a Quick Technique to Change Your Diaper
The Step-by-Step Process
Speed and discretion come from a practiced routine. You follow a specific sequence to minimize time and exposure. This technique works in any setting, including a private changing room. Follow these steps to change your diaper efficiently:
Prepare your station before you touch the baby. Unfold a fresh diaper and lay it open on the changing pad. Open the wipes container. Place a disposal bag within reach. Keep all supplies in one arm's length. This setup prevents fumbling once you start.
Slide the fresh diaper under the baby before you remove the soiled one. Lift the baby's legs gently. Position the clean diaper beneath the old one. This step keeps the surface clean. It also reduces the time the baby's skin is exposed. You minimize the chance of a mess reaching the pad.
Unfasten the old diaper and use its front panel to wipe away the bulk of the waste. Fold the soiled diaper under the baby. Use the front part as a shield. This technique traps most of the mess. It keeps your hands and the pad clean.
Wipe the baby's skin thoroughly from front to back. Use a fresh wipe for each pass. Clean all skin folds. Do not reuse a wipe. For girls, wipe front to back to prevent infections. Let the skin air dry for a few seconds. This step prevents diaper rash.
Remove the soiled diaper and bag it securely. Pull the old diaper out from under the baby. Wrap it tightly using the tabs. Place it inside a disposal bag. Tie the bag to seal in odor and prevent leaks. Set it aside.
Center the fresh diaper under the belly button and fasten the tabs. Pull the front of the diaper up between the baby's legs. Fasten the tabs snugly. Check the fit around the legs and hips. You should see no gaps. The diaper should not leave red marks.
Dress the baby and wash your hands. Put on the baby's clothes. Use hand sanitizer or wash your hands immediately. Dispose of the bagged diaper in a trash can. This completes the change.
Pro Tip: Keep Your Eyes on the Task
Distractions cause mistakes. You focus only on the baby and the supplies. Do not look around the room. Do not check your phone. Do not engage in conversation. Your full attention stays on the process. This focus speeds up the change. It also prevents you from missing a step.
Confidence comes from practice. You practice this technique at home until it feels natural. You build muscle memory. You learn to move quickly without hesitation. When you master this technique, you handle any situation. You know how to change your diaper in a locker room without stress. You finish the change in under two minutes. You leave the space clean and ready for the next person.
This technique reduces the risk of accidents. You avoid leaks by fastening the diaper correctly. You avoid spills by bagging the soiled diaper securely. You protect the baby's skin by wiping thoroughly. You protect yourself by staying focused. Practice makes this routine automatic. You gain confidence with every change.
You now know six proven ways to change your diaper in a locker room. These methods help you feel sure and stay clean. Being ready is your best tool. Bring a fold-up changing mat and bags for dirty items. Plan your drinks to cut down on how often you change. You handle diaper changes at the gym with ease. You keep smells under control with scented bags. You stop leaks by using the right steps. Every parent has been in this spot. It is fine to pause and do it right. With these tips, you face any locker room moment with confidence. Count on Chiaus products to help you at every step.
FAQ
How do I handle a blowout in a public locker room?
Stay calm. Grab your diaper caddy and head to the nearest private stall. Lay down a waterproof liner first. Use extra wipes to clean thoroughly. Bag the soiled outfit in a wet bag. Change your baby into the spare clothes you packed.
What if there is no changing table available?
Use your fold-out changing mat on a bench or floor. Place a waterproof liner underneath for extra protection. Position yourself against a wall for privacy. Keep your diaper bag beside you as a shield. Complete the change quickly and sanitize the area afterward.
How can I keep the smell from spreading?
Use scented disposal bags to seal soiled diapers immediately. Tie the bag tightly before placing it in the trash. Keep a small odor neutralizer pouch near your changing spot. These steps contain smells before they travel across the locker room.
How often should I change my baby at the gym?
Change your baby every two to three hours, or right after a bowel movement. Check the diaper frequently during long visits. A wet diaper causes discomfort and can lead to leaks. Regular changes prevent rashes and keep your baby happy throughout your workout.
What should I do if someone walks in while I am changing?
Stay focused on your task. Position yourself so your back faces the entrance. Use a large towel draped over your shoulder as a visual barrier. Most people will look away quickly. Finish the change efficiently and move on without drawing attention.